
A do-it-yourself floor coating can be rewarding, but the project is more demanding than rolling paint on a wall. Concrete evaluation, grinding, repairs, moisture testing, mixing, application speed, ventilation, and cure timing all matter. The right choice depends on the slab, the desired finish, available equipment, and the cost of correcting a failure.
Table Of Content
When DIY may make sense
DIY is most realistic for a small, sound, lightly used interior slab with no moisture warning signs or heavy oil contamination. The homeowner should be comfortable renting preparation equipment, working within a limited pot life, and following a technical data sheet exactly. A simple solid-color or light flake finish is easier to control than a metallic or full-broadcast decorative system.
What a complete DIY plan requires
- Cleaning and degreasing products compatible with the coating
- A suitable concrete grinder and dust-control vacuum
- Crack and spall repair materials approved for the system
- Moisture testing required by the manufacturer
- Accurate measuring, mixing tools, rollers, squeegees, brushes, and spiked footwear if specified
- Gloves, eye protection, respiratory protection, ventilation, and safe storage
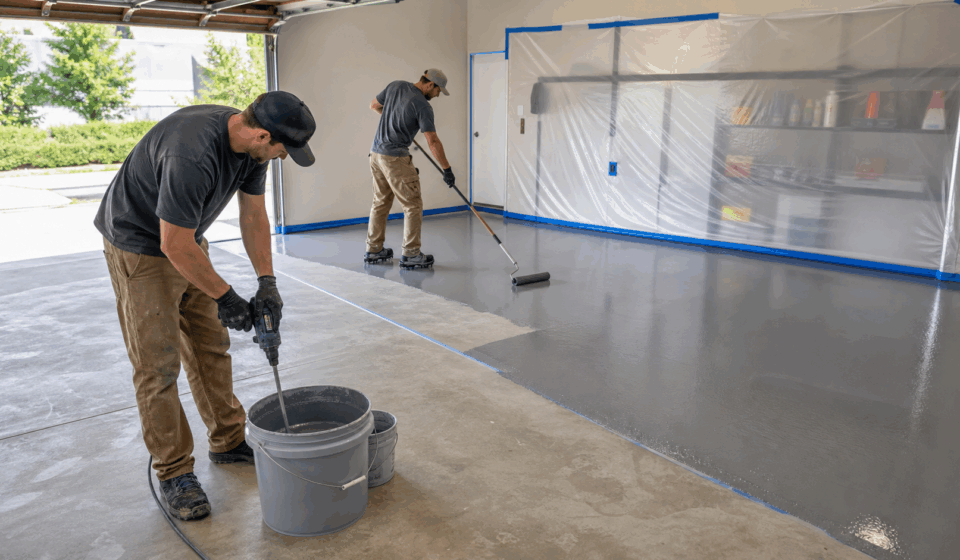
- Enough helpers to mix, cut in, broadcast flakes, and maintain a wet edge
- A backup plan for weather, equipment failure, or a batch that cures too quickly
Advantages of professional installation
Experienced installers can identify weak concrete, hidden coatings, contamination, and joint details before application. They have production grinding equipment, dust collection, moisture instruments, and access to commercial systems. A coordinated crew can keep batch timing and decorative coverage consistent across a large area. Reputable contractors also provide a written scope and workmanship warranty.
What professional installation does not guarantee
A high price or one-day promise does not automatically mean the system is suitable. Contractors should still explain preparation, moisture limits, total layers, coverage, and return-to-service times. Ask for product data sheets and recent local references. Read warranty exclusions carefully, especially for vapor transmission, cracks, substrate movement, and chemical damage.
The real cost of DIY
Compare the entire project, not only the resin kit. Include grinder rental, diamond tooling, vacuum filters, repair products, extra material for porous concrete, rollers, mixing containers, protective equipment, waste, and several days of lost use. If a coating fails, removal can cost more than the original installation because cured resin must be mechanically stripped.
Quality checkpoints for either approach
- The slab has been evaluated for moisture and contamination.
- The preparation method creates the profile required by the primer.
- Cracks, joints, edges, and drains have a defined treatment.
- Each batch is mixed at the correct ratio and spread within pot life.
- Coverage is measured so the film is neither too thin nor too thick.
- Temperature, humidity, dew point, and recoat windows are documented.
- The floor remains protected until full service cure.
A practical decision
Choose DIY when the slab is straightforward, expectations are modest, and you have time to learn and prepare thoroughly. Choose professional installation when the floor is large, moisture is uncertain, downtime is critical, contamination is heavy, or the finish is complex. Professional help is also wise when failure would interrupt a business or make the space unsafe.
Whichever route you choose, spend most of your attention on the substrate and the written installation requirements. Good preparation is less visible than a glossy topcoat, but it is the part of the project that protects everything above it.